Skip to content
The Fleet
Tours
Our Fleet
Train Hire
Get Involved
Volunteer
Make a Donation
About Us
History of TRMS
Administration
Our Future Plans
Media
Photo Galleries
Video Links
Pulications
Info
Contact
Links
The Small Print
History of NSW Rail Motors
Members Forms
The Fleet
Tours
Our Fleet
Train Hire
Get Involved
Volunteer
Make a Donation
About Us
History of TRMS
Administration
Our Future Plans
Media
Photo Galleries
Video Links
Pulications
Info
Contact
Links
The Small Print
History of NSW Rail Motors
Members Forms
Become a Member
Click to go back to Photo Galleries
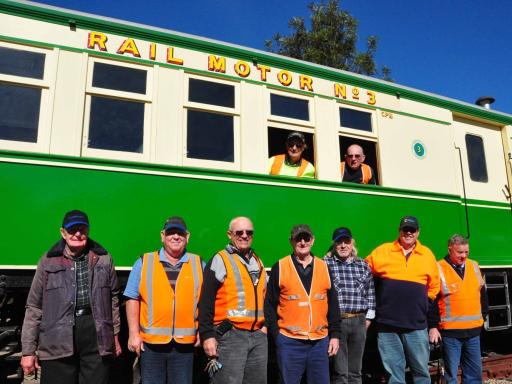
The smiles say it all - the trial trip crew
Photo: Stephen Preston
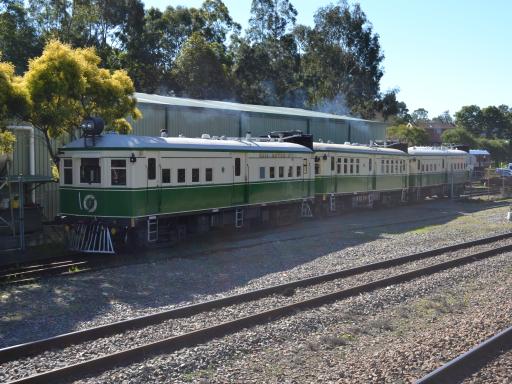
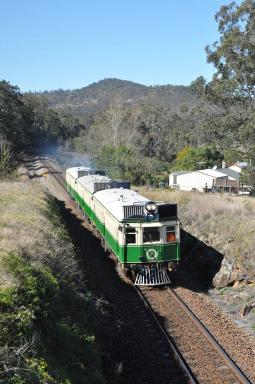
CPH 1, 3 and 7 returning to the Depot
Photo: Bruce Agland
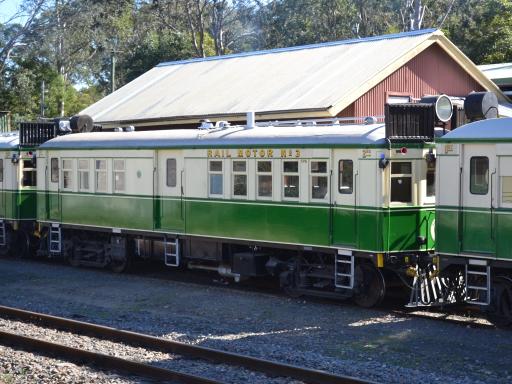
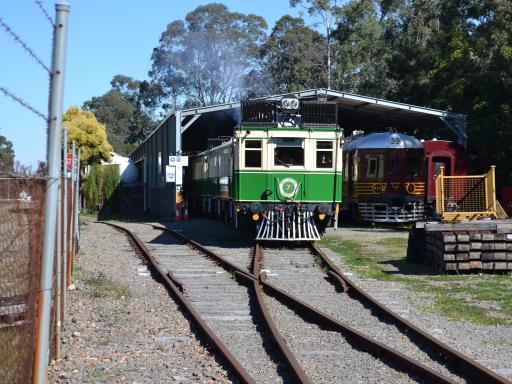
CPH 3 at Paterson Depot
Photo: Stephen Preston
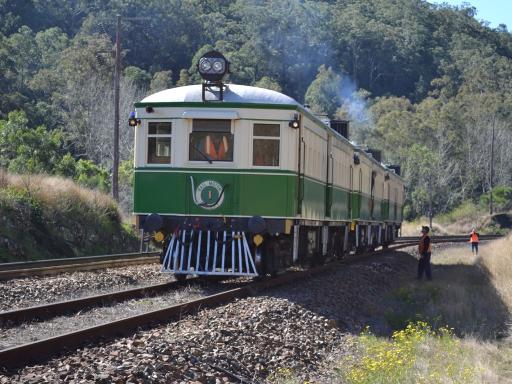
CPH 1, 3 and 7 at Monkerai Loop
Photo: Bruce Agland
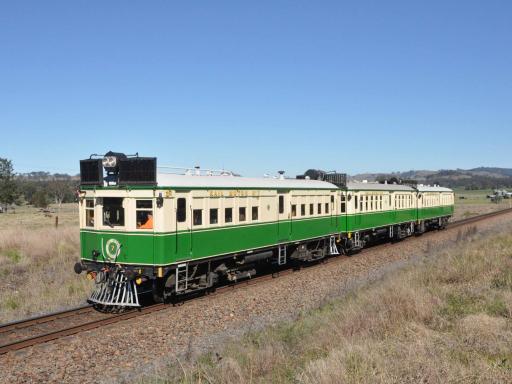
CPH 7, 3 and 1 at Wirragulla
Photo: Stephen Preston
CPH 7, 3 and 1 power through Martins Creek
Photo: Stephen Preston
CPH 7, 3 and 1 crossing Paterson Bridge Photo: Stephen Preston
Photo: Stephen Preston
CPH 7 leads CPH 3 and 1 out of the shed ready for the trial run Photo: Bruce Agland
Photo: Bruce Agland
Tours
Train Hire
The Fleet
Volunteer
History
Photo Galleries
Museum
Make a Donation
Souvenirs
Contact
Our Future Plans
Administration
Links
The Small Print
The History of NSW RailMotors
Tours
Train Hire
The Fleet
Volunteer
History
Photo Galleries
Museum
Make a Donation
Souvenirs
Contact
Our Future Plans
Administration
Links
The Small Print
The History of NSW RailMotors